


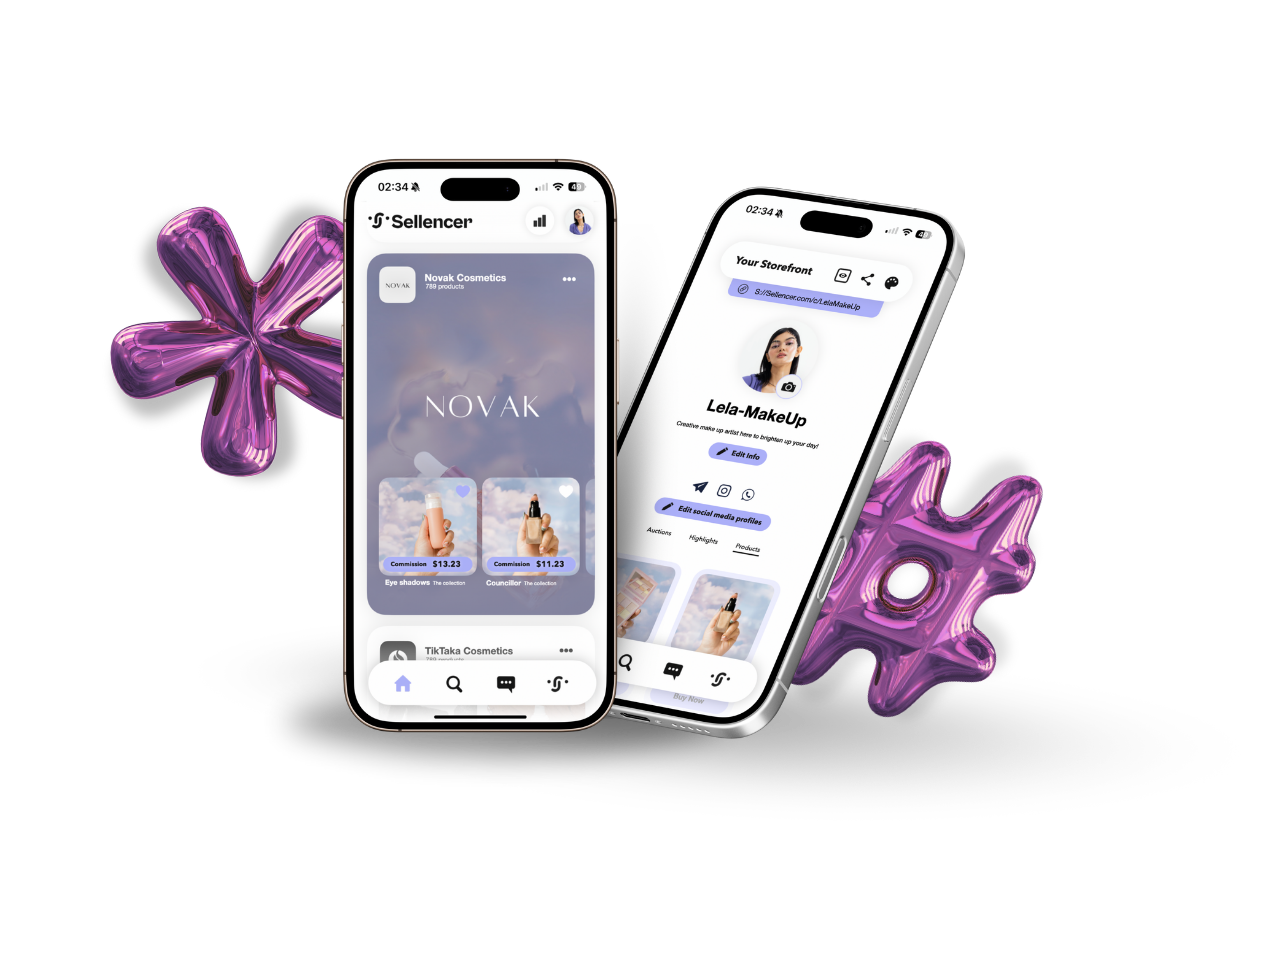


In this video, I will guide you through the process of installing the Sellencer sales channel on your Shopify store.
Step 1: Install the Sellencer App
To begin, go to Sellencer.com and click on the “Get Started” button. You’ll then see an option to install the Shopify app. Click on the Shopify App button, and you will be redirected to the Sellencer app page on the Shopify App Store. Ensure that the developer listed is Sellencer GmbH. Click Install to proceed.
Step 2: Complete Installation
Once you’ve clicked install, you’ll be directed to a page with more information about Sellencer. Simply click Install again to add the Sellencer sales channel to your Shopify store. You should now see Sellencer listed under your sales channels. To keep Sellencer easily accessible, pin it to your sales channels.
Step 3: Connect Your Shop to Sellencer
Next, you need to connect your shop to Sellencer. Before proceeding, make sure to read the Terms and Conditions and Privacy Policy. Then, click on the “Connect” button. A new window will appear, providing information about connecting and creating a Sellencer icon for your shop. Click Connect again. Once you receive the “Shop connected successfully” message, click Okay, close the app, and reload your page.
Step 4: Activate Payments
Now, let’s activate the payment system. Sellencer uses the Shopify billing service to charge commission fees and application fees based on your chosen preferences. Click on Activate Payments and select your payment method. Then, click Approve. Once you see a green banner, your setup is complete and successful.
Step 5: Configure Your Settings
With the setup complete, it’s time to configure your settings. Navigate to the Settings page from the menu or use the Settings button in the top banner. You’ll notice that your products are already synced. To sync them again with Sellencer, simply click Sync Product. Make sure to check for the green message that says, “Last Sync: less than a minute ago”.
To display your products on the Sellencer mobile app for influencers, you need to define an offer. This offer is what will be shown to influencers as their commission. Enter the offer details you prefer, whether it’s a percentage or a fixed value. For example, I’m using 10% of the total sales. Click Update Shop Settings to save your changes.
Step 6: Set Market Preferences
The next step is to configure your market preferences. You can restrict your market by country and decide who can access product links on Sellencer. For instance, you may allow influencers to request access to product links, or you can make links available to all influencers without prior approval.
Step 7: Configure Payout Settings
Now, let’s configure your payout settings. This setting determines the waiting period before paying influencers after a sale. Choose a waiting period that aligns with your return policy, shipping time, and order preparation.
Once this is set up, all influencers in the Sellencer network will have access to your products and can view them on the Sellencer app.
Step 8: Manage Offers
If you want to add more options to your offers or adjust offers for specific products, go to the Offer page and edit the desired offer. For example, I’m setting a 20% commission for a specific product. You’ll see the average offer update accordingly. You can also apply a single offer to all products, such as a fixed €20 commission for influencers.
Don’t forget to click Save. You can adjust individual offers as needed, and observe how the percentages change with your input. You can also see any additional costs for offers based on your plan.
By completing these steps, you ensure everything is ready for influencers to access your products. You can track influencer activity, manage links, and monitor everything through your Sellencer dashboard.
Thank you for watching, and enjoy using Sellencer