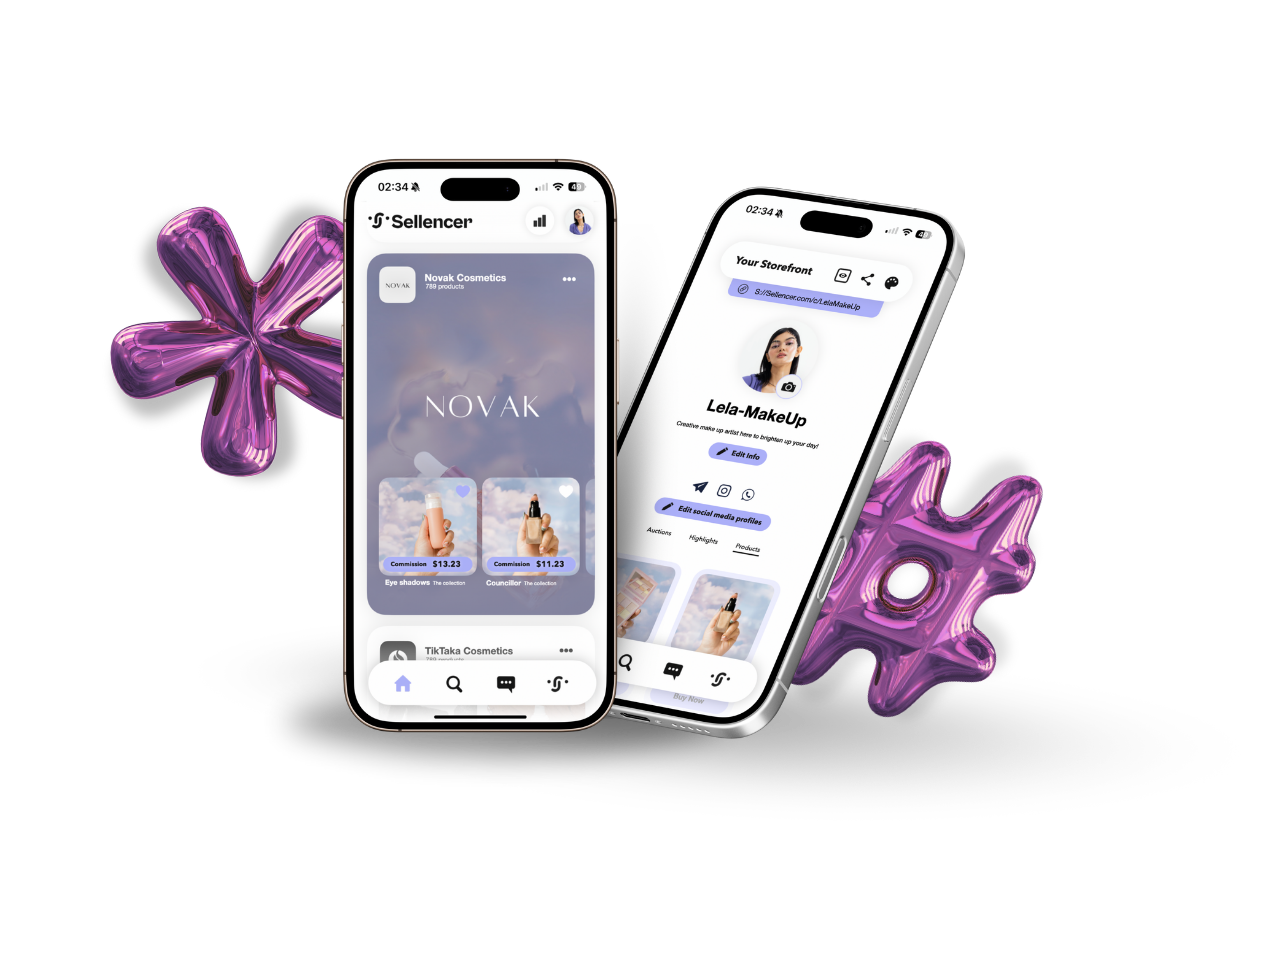
Syncing Products with Sellencer on Shopify
Sellencer enables Shopify store owners to sync their products seamlessly for enhanced marketing through influencer partnerships. Follow these steps to sync your products and ensure real-time updates:
Step-by-Step Product Sync Guide
Step 1: Initial Sync
- Access Sellencer in Shopify:
- Go to your Shopify admin panel.
- Navigate to the “Sellencer” application.
- Navigate to the “Settings” page.
- Sync Products:
- Click the “Sync Products” button.
- This sends your current product data to Sellencer via Shopify’s API.
- Confirmation:
- Ensure the last sync status is updated.

Step 2: Enable Automatic Sync
- Automatic Updates:
- After the initial sync, Sellencer will automatically update products each time changes occur in your store.
- Any changes to products from the Shopify app will go directly to the Sellencer Mobile App for influencers and creators.
Step 3: Register Webhooks for Real-Time Updates
- Navigate to Webhooks Settings:
- In your Shopify admin panel, go to the “Settings” section of the Sellencer app.
- Register Webhooks:
- Ensure the following webhooks are active to receive real-time updates:
- products/delete
- products/update
- products/create
- products/edit
- Ensure the following webhooks are active to receive real-time updates:
- Confirm Activation:
- Verify that webhooks are correctly registered and active to maintain sync.
Why Product Sync is Important
- Enhanced Marketing: Provides influencers with the latest product information.
- Operational Efficiency: Automates updates, reducing manual work and errors.
Need More Help?
- Detailed Terms: Visit our Shop Terms & Conditions.
- Support: For any questions or further assistance, please contact us.
This guide ensures your Shopify store’s products are synced with Sellencer, providing influencers with the most current product information for effective promotion.


